VIDEO
VIDEO SCRIPT
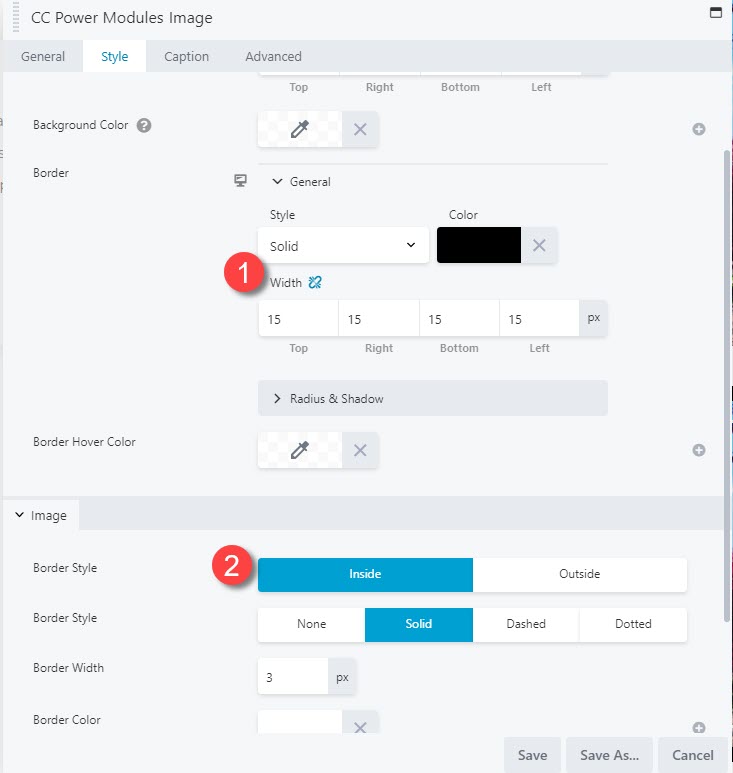
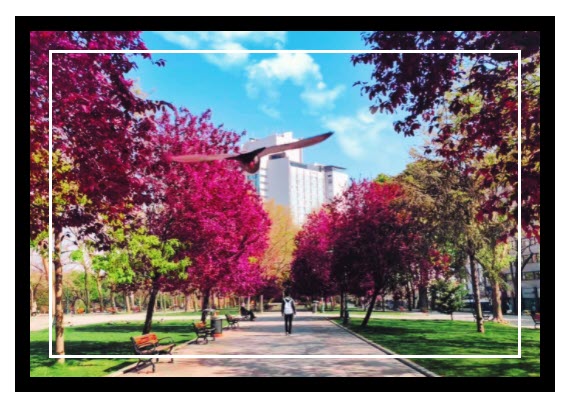
The image module has the power to make image borders! In the style tab, there are two ways to create borders for your image. The first method involves the “image box” dropdown menu. Within the image box menu, the “general” dropdown menu lets you set the Style, Color, and Width of the border. This border goes on the outside of the image box, rather than the image itself, so the space taken up on the page will always be the same but the size of the image will vary.
The second method involves the “image” dropdown menu. Note that this second option actually creates a second border, rather than merely adding more options to the image itself. The second border is always on the inside of the first border, as it is created on the image itself rather than the image box. You can customize the style, color, and width of this second border. You can’t select a color until you’ve set a border style other than “none.” Note that if you set the border style to “inside” you can also adjust the spacing from the edge of the image, creating a “floating” effect for your border.